Getting ready for production
Explore the features that will help you prepare for production with Neon
Select the right compute size
In a development environment, your application may function perfectly with a small compute size, but before your application goes live, make sure that your database has enough vCPU and memory to handle the expected load.
In Neon, your compute size determines the amount of vCPU and memory your database has to work with. Neon supports computes up to 10 Compute Units (CUs) in size. Larger computes provide more memory. The compute sizes that are available to you depend on your Neon plan:
- Free Plan: 0.25 CUs (0.25 vCPU, 1 GB RAM)
- Launch: Up to 4 CUs (4 vCPU, 16 GB RAM)
- Scale: Up to 10 CUs (10 vCPU, 40 GB RAM)
- Enterprise: Larger sizes
You should start with a compute size that can hold your data or at least your most frequently accessed data (your working set) in memory. If you are using Neon's Autoscaling feature, we recommend the same for your minimum compute size setting (see Configure Autoscaling).
For a table showing the vCPU and memory per compute size and how to select the right compute size, see How to size your compute.
Configure Autoscaling
Neon's Autoscaling feature dynamically adjusts the amount of compute resources allocated to a Neon compute in response to the current workload, eliminating the need for manual intervention.

Typically, Autoscaling is most effective when your data (either your full dataset or your working set) can be fully cached in memory on the minimum compute size defined in your autoscaling configuration. The maximum compute size in your configuration can then be set to handle peak or above-normal demand.
To get started with Autoscaling, read:
- Enable Autoscaling in Neon
- How to size your compute, including the Autoscaling considerations section.
Configure Autosuspend
Neon's Autosuspend feature automatically transitions a compute into an Idle state after a period of inactivity, also known as "scale-to-zero". By default, suspension occurs after 5 minutes of inactivity, but this delay can be adjusted on Neon's paid plans.

For a busy production system that is always active, this setting may not matter much, as your compute will not remain idle long enough for autosuspension to occur. But if your application has any idle periods or inconsistent usage patterns, a proper setting can help minimize cost or optimize responsiveness. To learn more about configuring Autosuspend, Configuring Autosuspend for Neon computes.
Use a pooled connection
The Postgres max_connections setting defines your basic maximum simultaneous connection limit and is set according to your compute size. Larger computes support higher max_connections settings. However, Neon supports connection pooling with PgBouncer, which increases your connection limit up to 10,000 simultaneous connections. Enabling connection pooling simply requires using a pooled connection string instead of a standard non-pooled connection string. A pooled connection string includes -pooler in the Neon hostname, as shown in this example:
postgresql://alex:AbC123dEf@ep-cool-darkness-123456-pooler.us-east-2.aws.neon.tech/dbname?sslmode=requireThe -pooler flag directs connections to a connection pooling port at the Neon proxy. Unless you have a specific reason to avoid connection pooling, we recommend using it in production. You can copy a pooled connection string for your database from the Connectin Details widget on your project's Dashboard in the Neon Console. Select the Pooled connection option. For more information, see Connection pooling.
Configure your history retention period
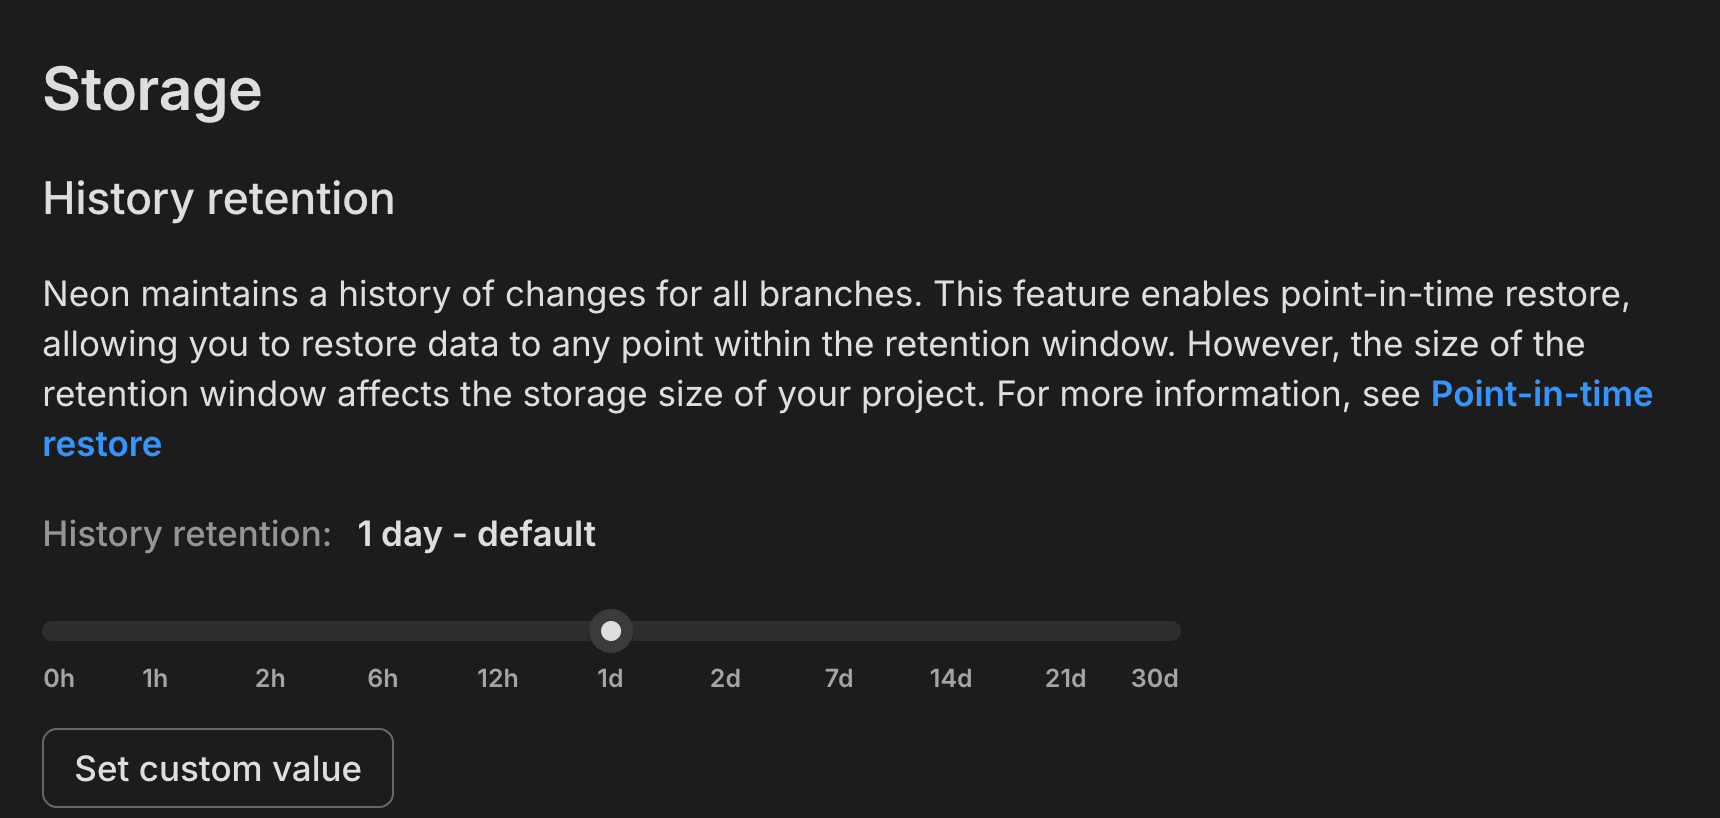
Neon retains a history of changes for all branches. This history enables point-in-time restore and time travel queries among other development-focussed features. Keeping a history enables recovering lost data or viewing the past state of your database, which is helpful when trying to determine when an issue occurred or find a restore point. Neon's history can also function as a database backup strategy.
The history retention limit is 24 hours for Neon Free Plan users, 7 days for Launch plan users, and 30 days for Scale plan users. Before going into production, select a history retention period that suits your operational requirements.

A longer history retention period expands your point-in-time restore and time travel query horizons at the cost of increased storage usage.
For more, see Branch reset and restore.
Configure IP Allow
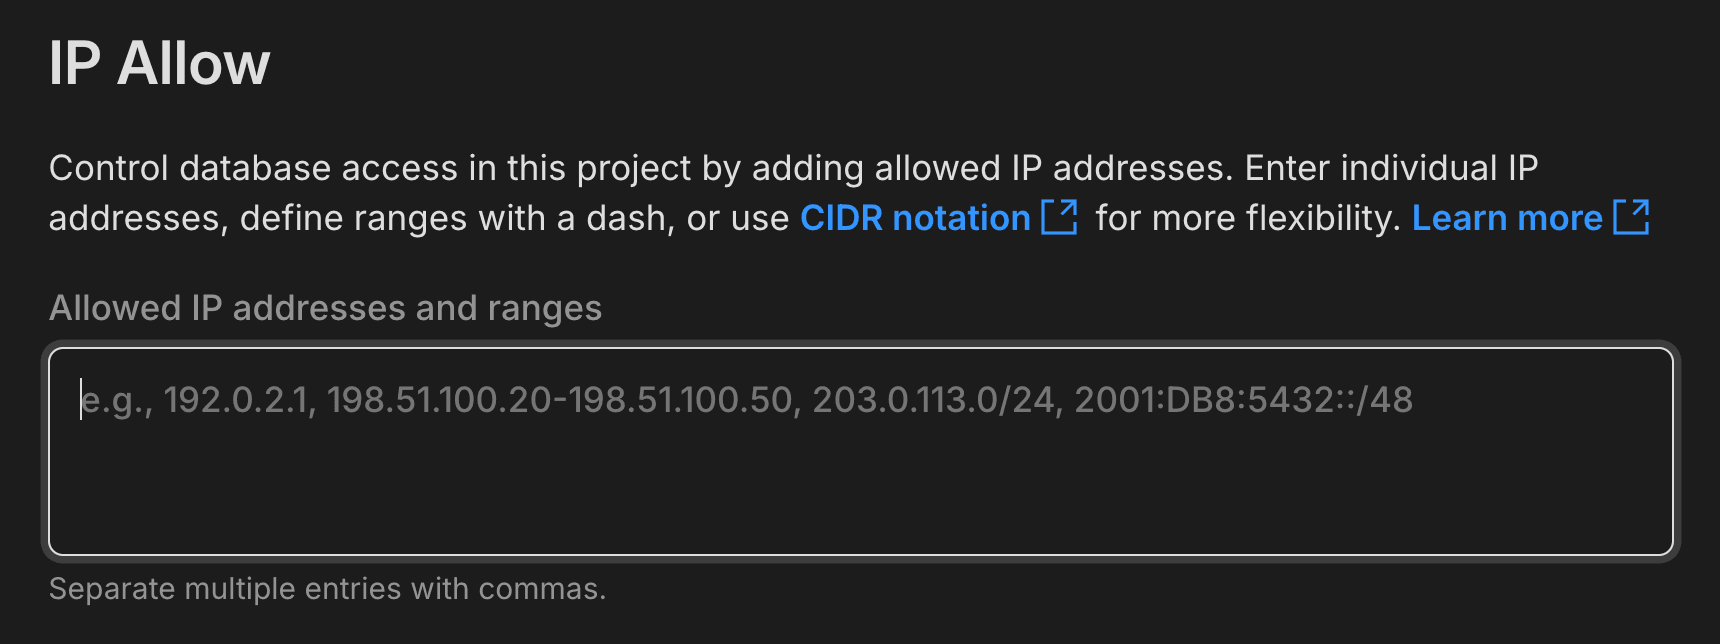
Neon's IP Allow feature, available with the Neon Scale plan, ensures that only trusted IP addresses can connect to your database, preventing unauthorized access and helping maintain overall data security. You can limit access to individual IP addresses, IP ranges, or IP addresses and ranges defined with CIDR notation.

You can configure IP Allow in your Neon project's settings. To get started, see Configure IP Allow.
Configure a protected branch
Neon's protected branches feature allows you to apply IP restrictions more precisely by designating specific branches in your Neon project as protected and enabling the Restrict IP access to protected branches only option. This will apply your IP allowlist to protected branches only with no IP restrictions on other branches in your project. Typically, branches that contain production or sensitive data are marked as protected. For step-by-step instructions, refer to our Protected branches guide.
Monitoring
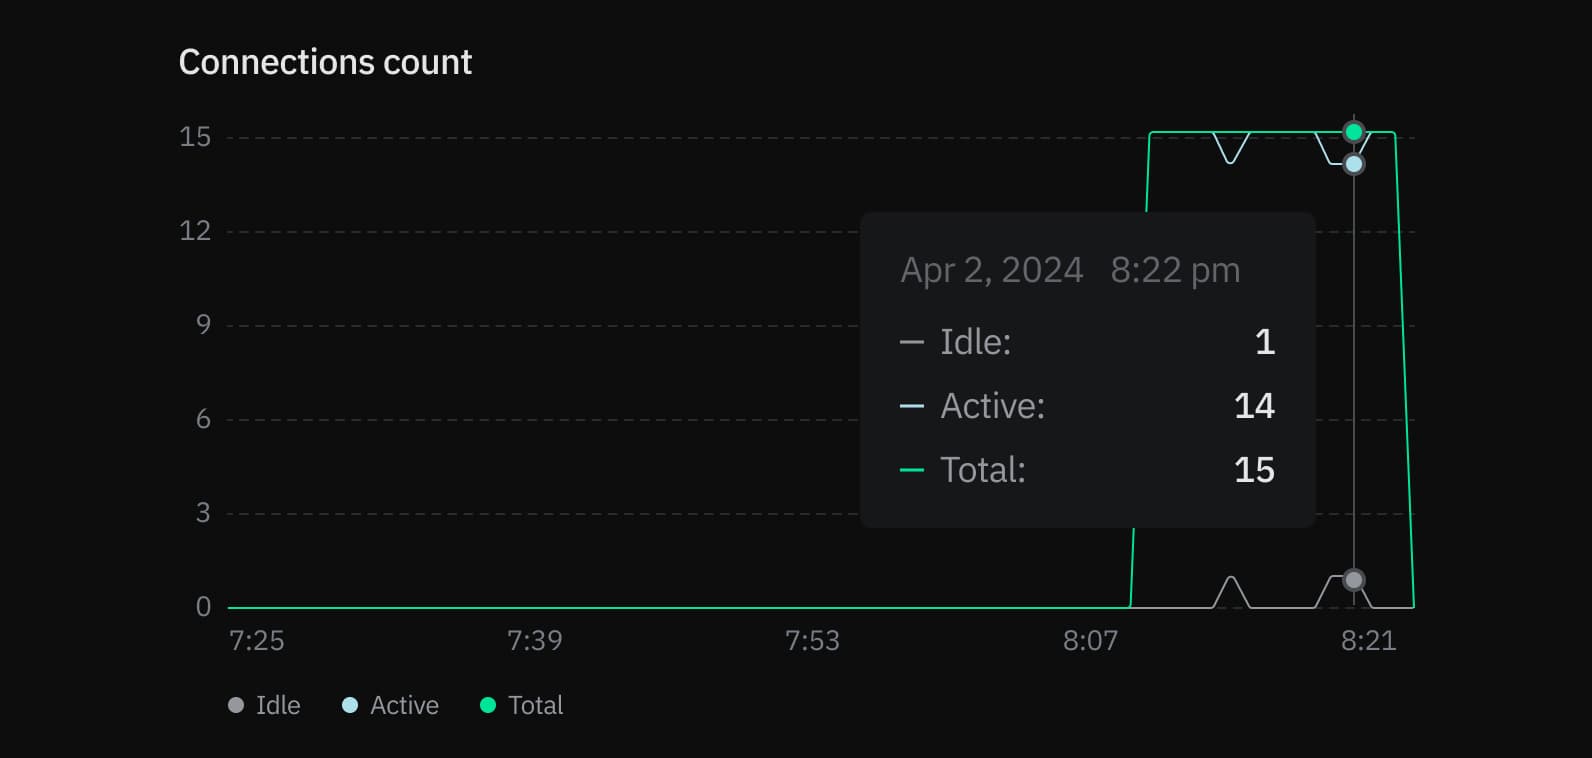
Monitoring is an important consideration as you prepare for production. Neon offers several monitoring resources and metrics, including a Monitoring Dashboard in Neon Console, where you can view graphs for system and database metrics like CPU, RAM, and connections.

For query performance and statistics in Postgres, we also recommend installing the pg_stat_statements extension.
CREATE EXTENSION IF NOT EXISTS pg_stat_statements;The statistics gathered by this extension require little overhead and let you quickly access metrics like:
To learn more about monitoring resources and metrics in Neon, check out our Monitoring page.
Create staging or test branches
With Neon branching, you can easily create an isolated copy of your production database for est schema changes and application updates before deploying to production. To get an idea of how easily you can create a branch for testing, see our Branching — Testing queries guide.
The Neon CLI and Neon API enable you to automate testing and build CI/CD pipelines to streamline your testing processes.
Need help?
Join our Discord Server to ask questions or see what others are doing with Neon. Users on paid plans can open a support ticket from the console. For more detail, see Getting Support.